Blog Article
The Magick of Sourdough Starter
Good bread is the most fundamentally satisfying of all foods; and good bread with fresh butter, the greatest of feasts. – James Beard
I’ve always loved bread, the smell of it baking speaks to me of home and comfort. The act of mixing together flour and water and its becoming is the simplest and, to me, one of the most profound magicks, and one that I have the most fun embracing.
In the interest of full disclosure when it comes to making sourdough, I’m still a novice. My bakes are often lopsided and I’ve yet to master an open crumb…. but oh my god, do they taste amazing and sourdough discard is one of my most favorite things.
Today I want to invite you to discover the magick of sourdough bread – if you’ve already got a starter bubbling away, I’ll have my families favorite discard recipe up in a few days – for those of you that don’t have one, if I told you that there’s an easy way to create a sourdough starter…
Would you believe me?
Here’s the thing: creating one from scratch is not hard to do. However, the process seems incredibly nerve-wracking, especially for beginners, but I promise, it’s really not.
HOW LONG WILL IT TAKE TO CREATE A SOURDOUGH STARTER?
The overall process takes about 7 days from start to finish.
However, it’s not uncommon for it to take up to two weeks or more for the starter to become active. It all depends. I know this timeframe sounds a bit vague, but growing yeast in a jar (that’s basically what you’re doing) can be unpredictable at times. Please be patient if the process takes time for you- it’s normal.
IS IT DIFFICULT TO DO?
Absolutely not!
You’re essentially adding flour and water to a jar, feeding it with more flour and water over time, and then waiting for it to become bubbly and double in size. That’s it. Most of your involvement is hands-off.
Can I ask you a favor though?
Don’t overthink it. Trust the process, embrace the magick and you’ll get there.
SO, WHAT IS A SOURDOUGH STARTER?
A sourdough starter is a live culture of flour and water. Once combined, the culture will begin to ferment which cultivates the natural yeasts found in our environment. A small portion is added to your bread dough to make it rise.
Commercial yeast IS NOT required.
Sounds a bit weird, right?
Of course it does. And it should. All you need to know is this: natural “wild” yeast is all around us. It can be found in a bag of flour, in the air, on your hands… Just because you can’t see it, doesn’t mean it’s not there and doing its thing.
To mix up your starter you’ll need a few things -
- 3/4 L jar
- 1 bag unbleached all-purpose flour
- 60 g (1/2 cup) wheat flour
- Warm water
Tip: Use regular, unbleached all purpose flour for best results- skip organic. The enzymes are different which can hinder the rising process the first time around. I use King Arthur Flour. Filtered water or tap water is fine. Use the latter if you know it’s mostly chemical/chlorine free.
DAY 1: MAKE THE STARTER
Combine 60 g (1⁄2 cup) of whole wheat flour and 60 g (1⁄4 cup) of warm water in a large jar.
Mix with a fork until smooth; the consistency will be thick and pasty. If measuring by volume, add more water to thin out the texture if needed. Cover with plastic wrap or a lid, and let it rest in a warm spot, about 75-80 F for 24 hours.
Tip: Use whole wheat flour to start, since it contains more wild yeast, and the more wild yeast in the flour, the better your starter will do- smaller brands like Bob’s Red Mill are great for getting your starter going since they are minimally processed.
DAY 2: GOT BUBBLES?
Today, you’re going to check if any small bubbles have appeared on the surface.
Bubbles indicate fermentation, which is what you want! However, it’s okay if you don’t see anything right away; the bubbles might have appeared and dissolved overnight while you were sleeping. This happens quite often.
You do not have to do anything else right now. It does not need any flour or water. Just rest the starter in your warm spot for another 24 hours.
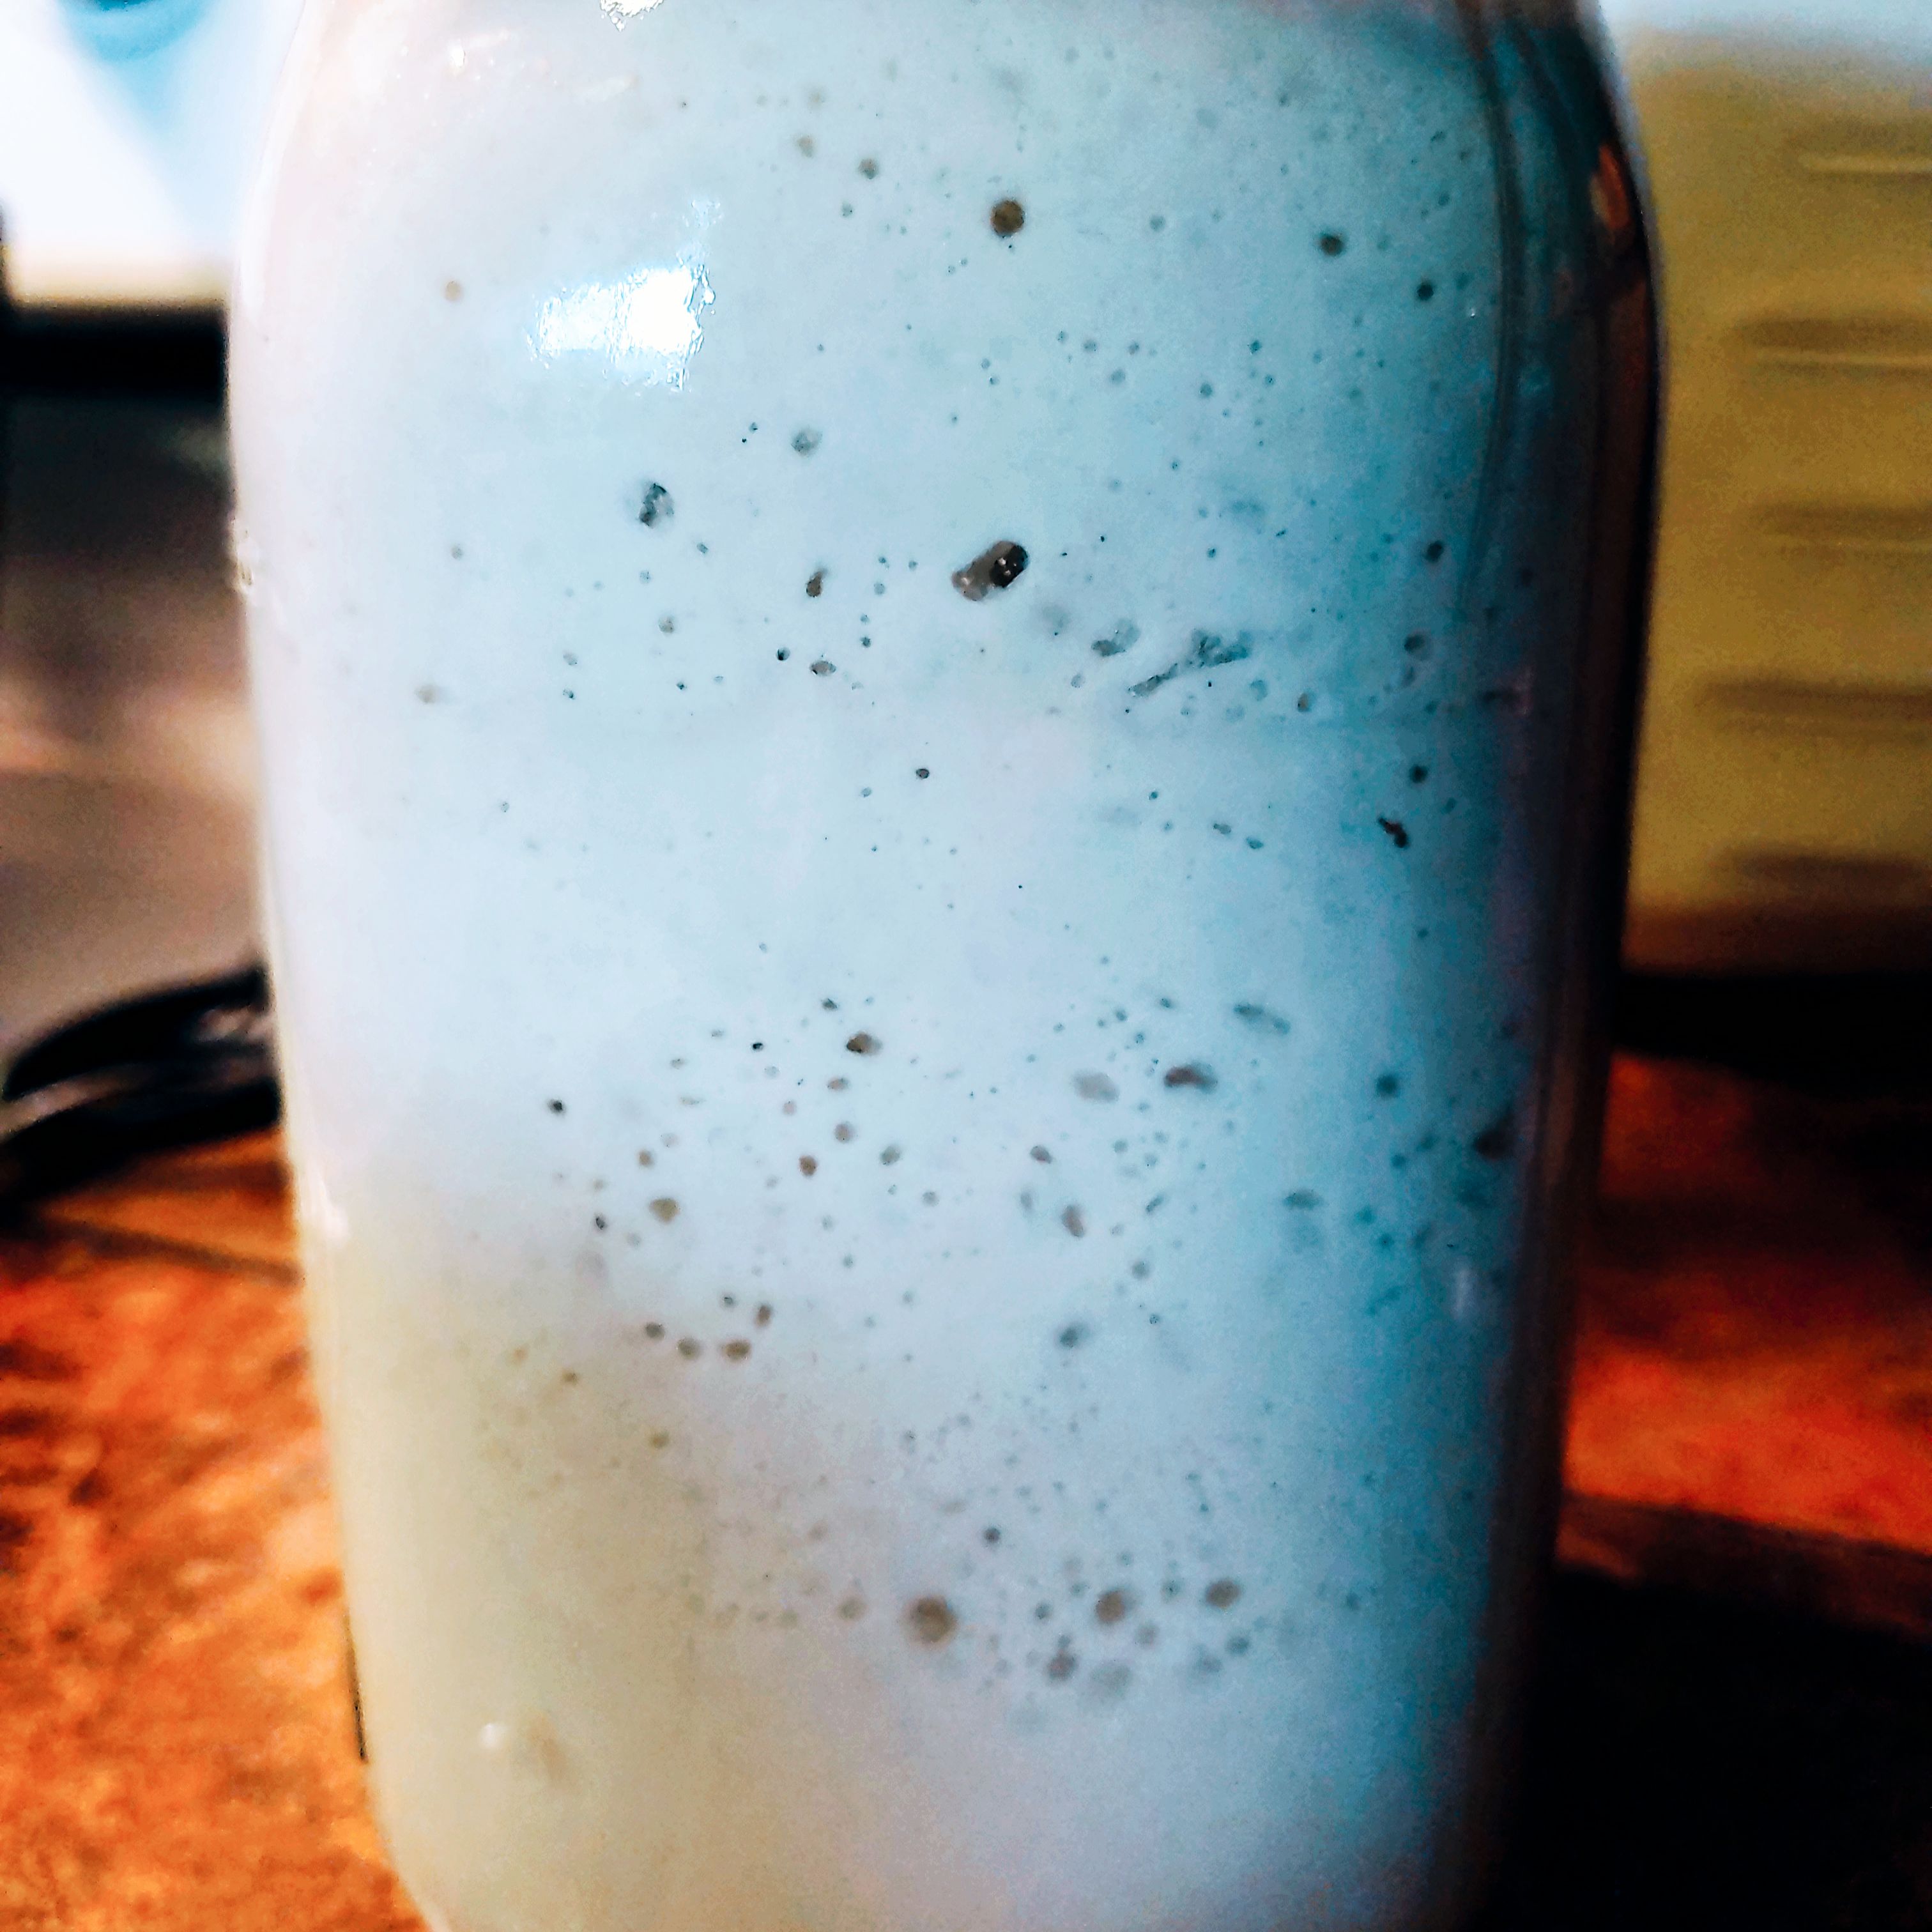
During the creation process, and even after your starter has been established, a dark liquid might appear on the starter. This liquid is called “hooch” and is an indication that your starter needs to be fed. It also has a very stinky smell, similar to rubbing alcohol or gym socks. This is normal. Don’t freak out. Any time you see this liquid, it’s best to pour it off, along with any discolored starter present. However, on Day 2 just leave the hooch alone; you can get rid of it tomorrow when you start the feedings.
DAY 3: FEED YOUR STARTER
Whether bubbles are visible or not, it’s time to start the feeding process.
Remove and discard approximately half of your starter from the jar (you should have about 60 g left). Use a spoon. The texture will be very stretchy. Add 60 g (1⁄2 cup) of all-purpose our and 60 g (1/4 cup) of warm water. Mix with a fork until smooth.
The texture should resemble thick pancake batter or plain yogurt (not Greek) at this point so add more water as needed. Cover and let rest in your warm spot for another 24 hours.
DAYS 4, 5, AND 6: KEEP ON FEEDING!
Repeat the same feeding process as outlined on Day 3:
Remove and discard half of the starter and feed it with 60 g (1⁄2 cup) of all-purpose flour and 60 g (1/4 cup) of warm water. As the yeast begins to develop, your starter will rise, and bubbles will form on the surface and throughout the culture.
When the starter falls, it’s time to feed it again.
Tip: Place a rubber band or piece of masking tape around the jar to measure the starter’s growth as it rises.
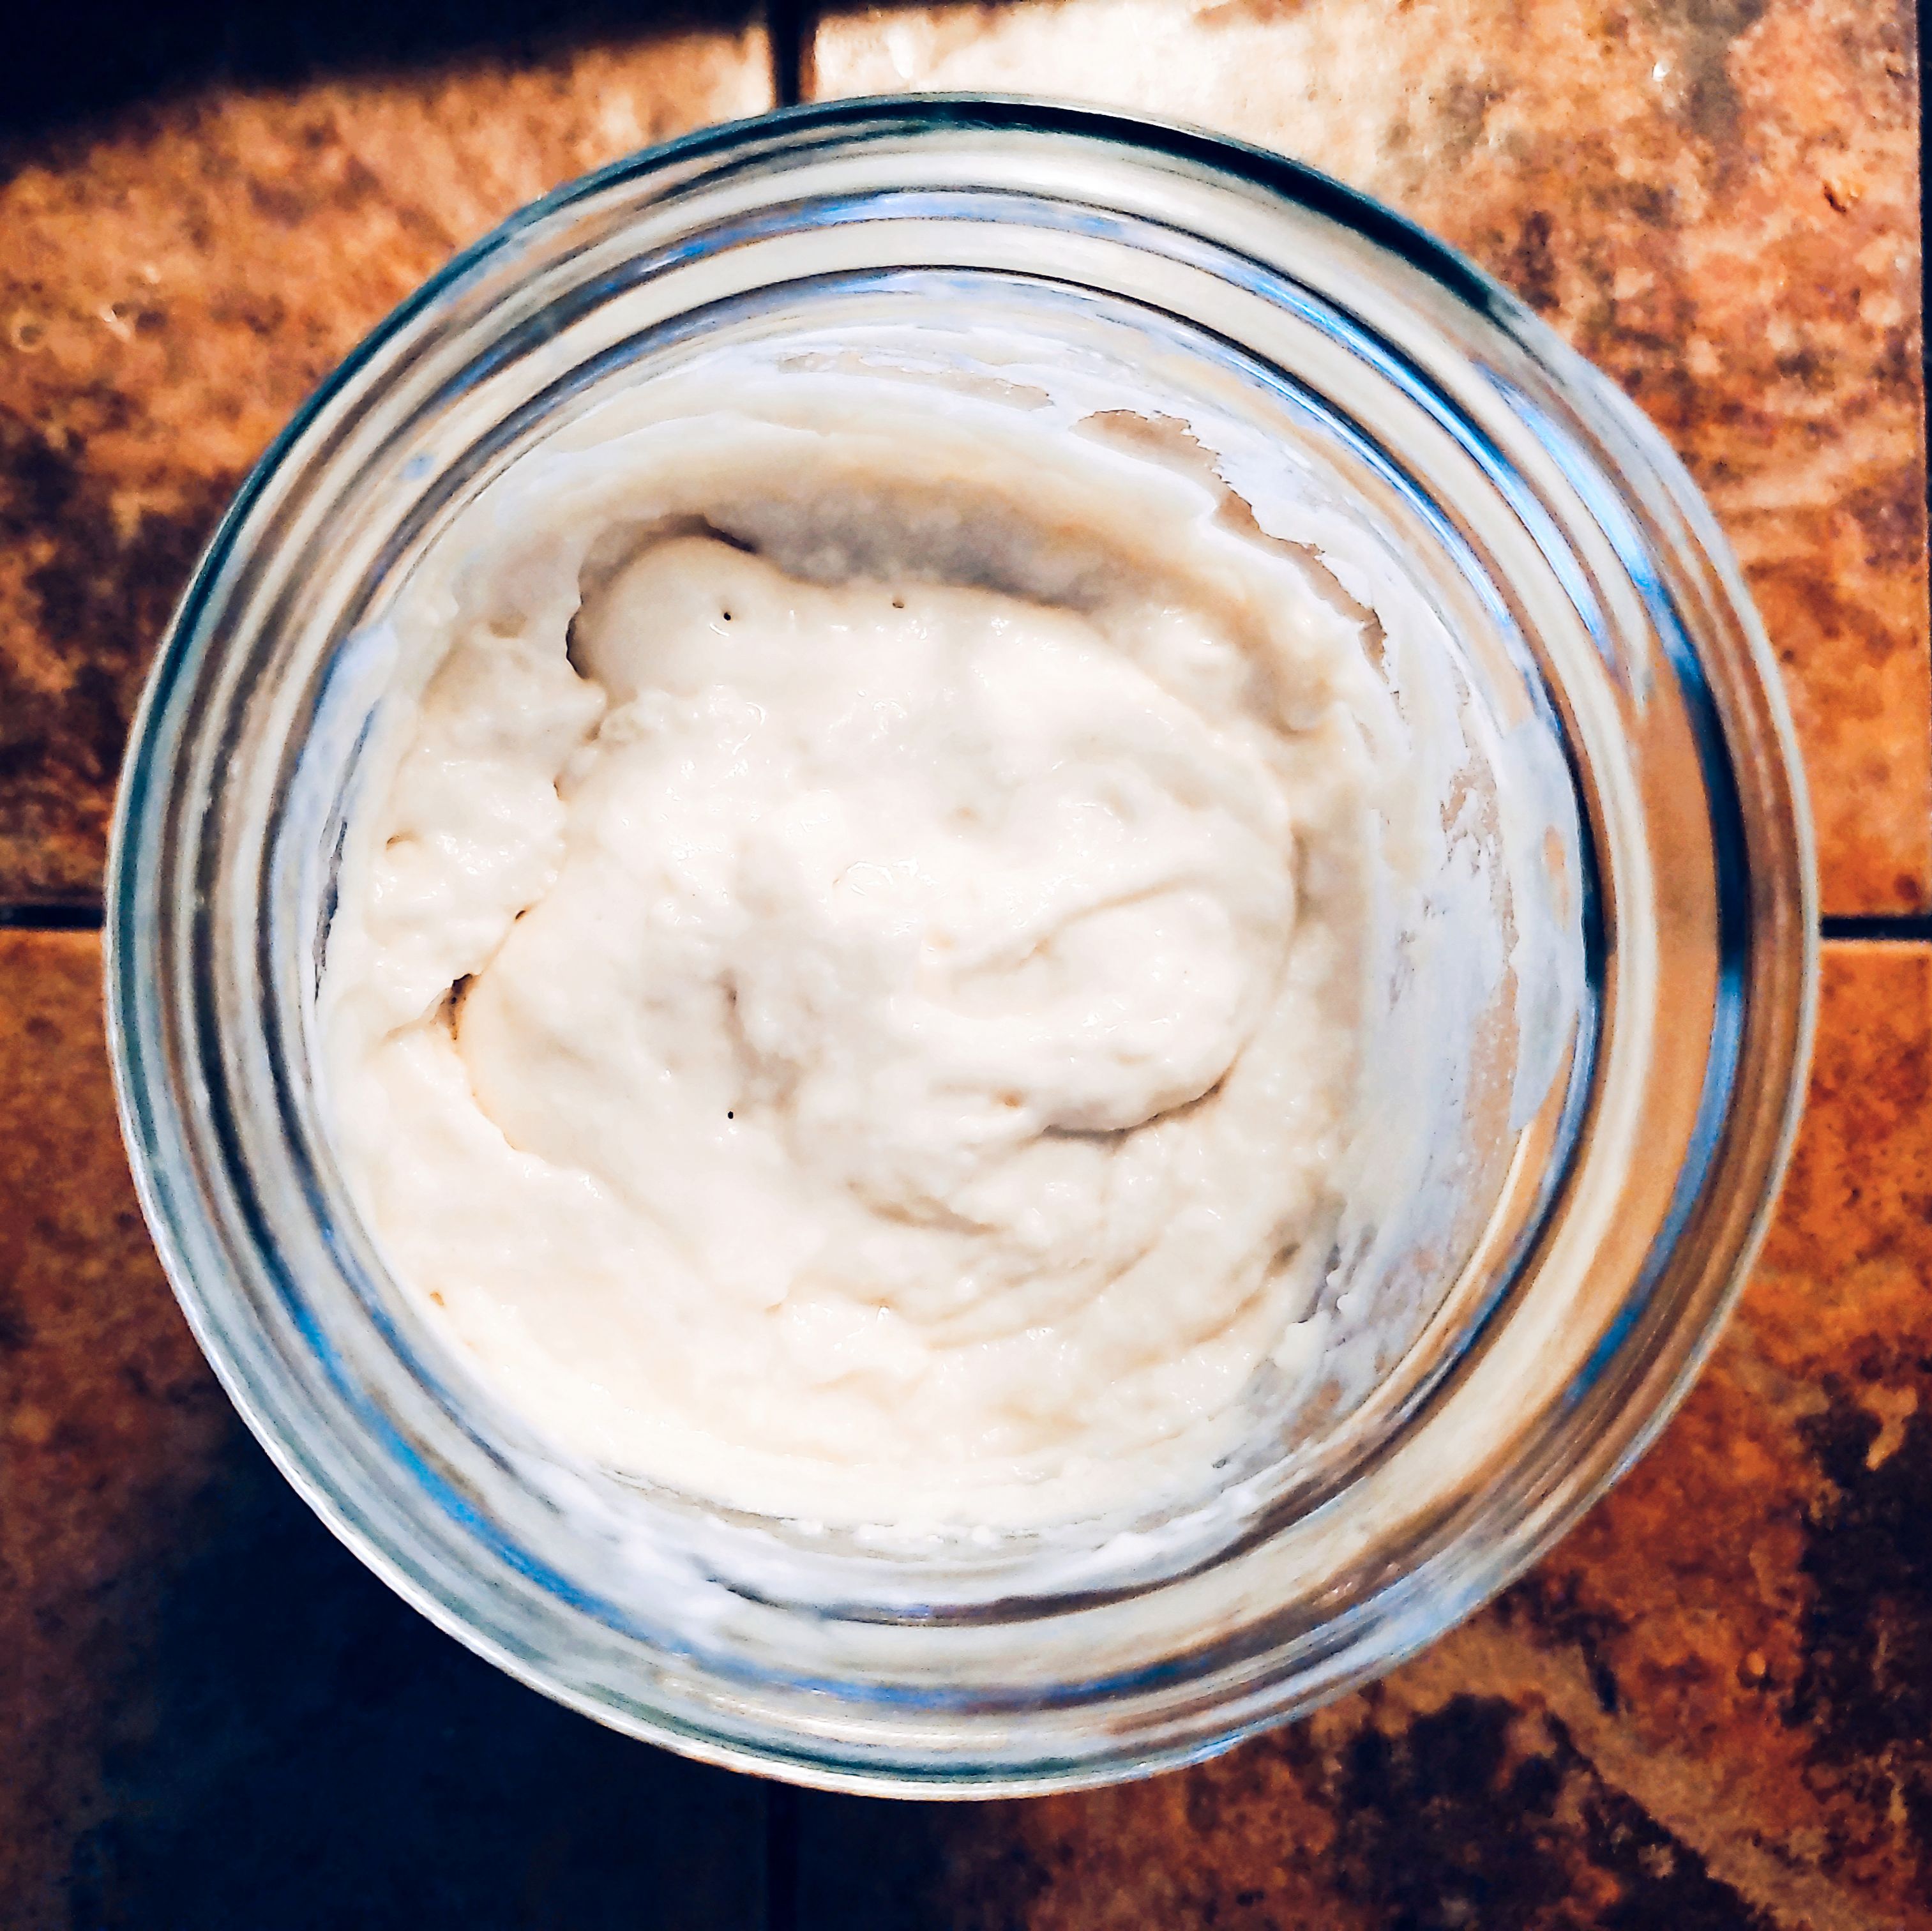
DAY 7: A SOURDOUGH STARTER IS BORN!
By now, your sourdough starter should have doubled in size.
You should see plenty of bubbles, both large and small. The texture will now be spongy, fluffy, and similar to roasted marshmallows (think: s’mores). It should also smell pleasant and not like stinky gym socks, mine has a ripe, fruity smell.
If these conditions are met, your starter is now active.
The very last step is to transfer your sourdough starter to a nice, clean jar. In keeping with tradition, you can also name it!
My starter is called Audrey (the second) because she always wants to be fed (and she’s the sister of my first starter that didn’t make it)
A FEW TIPS FOR ONGOING CARE…
So you’ve created a sourdough starter! Now what?
Just like any living creature, it must be kept alive with regular feedings to maintain its strength. If your starter is not strong, your bread will not rise. Caring for your starter is much easier than you’d think, and certainly won’t take hours of your time.
HOW TO FEED YOUR SOURDOUGH STARTER
- Begin by removing and discarding about half of your starter.
- Replenish what’s left in the jar with fresh all-purpose flour and water.
- Cover loosely, and let it rise at room temperature until bubbly and double in size. Once it falls, the bubbles will become frothy and eventually disappear. Then you’ll know it’s time to feed your starter again.
- Feed your starter everyday if it’s stored at room temperature. If you keep it in the fridge, feed it once a week.
PS: If you miss a feeding, don’t worry- your starter is not going to die. It might look ugly (and smell horrendous) but it usually just needs a few feedings to perk back up.
WHEN IS YOUR SOURDOUGH STARTER READY TO USE?
- Your starter is ready when it shows all of the following signs:
- bulk growth to about double in size
- small and large bubbles on the surface and throughout the culture
- spongy or fluffy texture
- pleasant aroma (not reminiscent of nail polish remover/gym socks/rubbing alcohol)
- If you’re having trouble spotting the signs, don’t forget to place a rubber band around the base of the jar to measure the starter’s growth.
- You can also try the float test mentioned above: Drop a small dollop of starter into a glass of water. If it floats to the top, it’s ready to use.
HOW TO STORE YOUR SOURDOUGH STARTER
Once your starter is established, you have two storage options to consider.
At Room Temperature: If you bake often—let’s say a few times a week—store your starter at room temperature. This will speed up fermentation, making the starter bubbly, active, and ready to use faster. Room temperature starters should be fed one to two times a day, depending on how quickly they rise and fall.
In the Fridge: If you don’t bake that often, store your starter in the fridge covered with a lid. You’ll only need to feed it about once a week or so to maintain its strength when not in use (you can just feed it cold and then pop it back in the fridge right afterwards; no need to warm it up first). When you are ready to make dough, feed your starter at room temperature as needed, to wake it back up. (I keep my starter on my counter, but I also have a back-up jar in the fridge incase something happens to her.)
I hope that this inspires you to get in your kitchen and create some magick.
At a glance, your overall daily schedule with measurements should look like this:
- Day 1: 60 g flour + 60 g water = 120 g starter
- Day 2: Do nothing
- Day 3: Remove & discard half of the starter/ 60 g starter + 60 g flour + 60 g water = 180 g starter
- Day 4: Remove & discard half of the starter/ 90 g starter + 60 g flour + 60 g water = 210 g starter
- Day 5: Remove & discard half of the starter/ 105 g starter + 60 g flour + 60 g water = 225 g starter
- Day 6: Remove & discard half of the starter/ 112.2 g starter + 60 g flour + 60 g water = 232.5 g starter
- Day 7: Remove & discard half of the starter/ 116.25 g starter + 60 g flour + 60 g water = 236.27 g starter
Phred
Phred is a story-teller, and a maker of art. A gatherer of beauty and magick, weaving it all together to create a life less ordinary. A shape-shifter and a seeker of pleasure who’s magick is rooted deeply in the darkness of the underworld and the comfort of the hearth. An alchemist of words and images spinning them together to inspire others to step into their own magick.